Today I'm tackling the reinforcement portion of steeking. There are a few ways of reinforcing your steek, the easiest way works only for the stickiest of wools and actually requires no reinforcement at all. If you have a super hairy and sticky yarn, when you make the cut, the wool works like a champ reinforcing itself. This isn't the case for me so I'm gonna need the help of some 3rd party wool. The second method is the machine steek, probably most common with those of us prone to paranoia. It's hard to argue with a reinforcement that's hammered in by your sewing machine. For me though, sewing machines and knitting don't mix so well intuitively (something about a machine harshly pounding into my carefully handcrafted fabric... not to mention a lamentable loss of elasticity). For this sweater, I went with the third method which utilizes crochet chains to reinforce the knitting. This method is loads of fun for those of you who like the technical stuff. You know I love it!
First and most important, we must be absolutely sure to use an animal fiber (preferably a 'sticky' one, wool as always is perfect) in a lighter weight than your sweater for the crocheting. I used KnitPicks Telemark, a sport weight wool intended for colorwork, in a mustardy yellow. I decided to use a yarn in a different color to make the process more clear visually (for both you and me) while also adding an interesting accent on the interior of the finished work. Remember that the 5-stitch stockinette area reserved for the steek (including the crochet chains) will be folded in onto the wrong side of the garment after finishing, hiding the yellow chains from view while wearing.
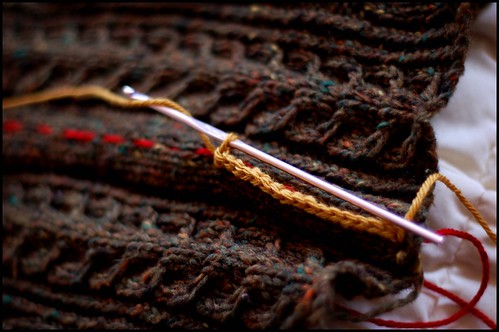
motor up one side

and back down the other
The completed reinforcements look something like this:
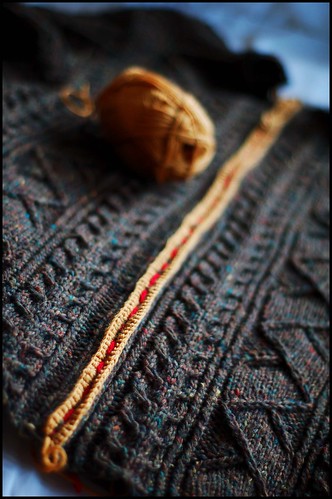
Notice how nice and neat the red line is framed by the yellow chains. We're now ready to pull out the red wool to reveal a nice tidy ladder of stitches that is just begging to be cut.
There's nothing left to do but ready the shears. Stay tuned.
0 comments:
Post a Comment